DTF Powder Size & Curing Window: Turning 'Printable' into 'Deliverable'
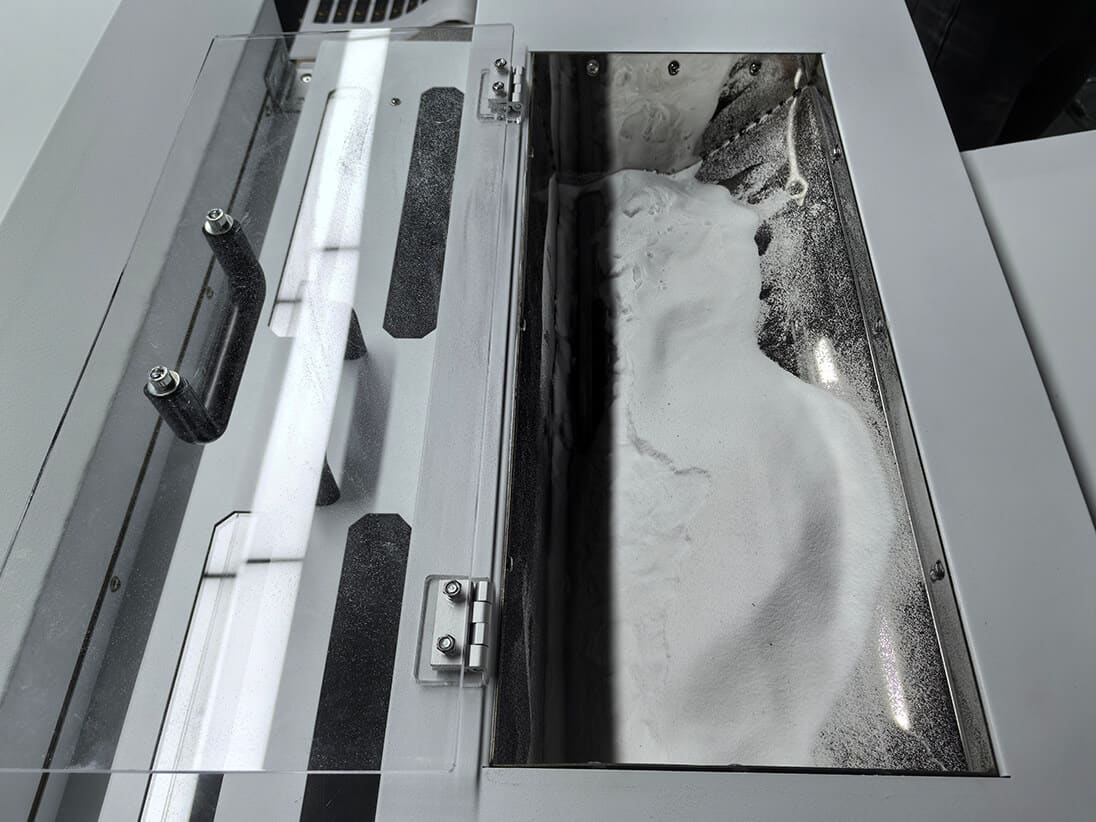
DTF adhesive powder turns a printed transfer film into a deliverable garment graphic. Three grades cover most production work: fine (10–20 μm) for high-detail, medium (20–40 μm) for standard, coarse (40+ μm) for heavyweight fabric. Match grade to fabric, dial in the curing window, and adhesion problems mostly disappear.
Powder granularity classifications
Fine powder (10–20 μm)
- Smooth, even adhesion across the print
- Ideal for high-precision prints - fine type, photographic detail, small graphics
- Requires lower temperatures and shorter curing time because the smaller particles melt fast
Medium powder (20–40 μm)
- Most commonly used powder size in both DTG and DTF
- Standard curing: 160–180 °C for 20–30 seconds, medium pressure
- The default choice for typical adult-garment DTF work
Coarse powder (40+ μm)
- Larger particles can distribute unevenly on fine detail
- Needs elevated temperatures and extended curing time: 180–200 °C for 30–60 seconds
- Best for heavyweight cotton, denim, canvas, workwear - fabrics where the thicker adhesive layer is the right call
Curing window
| Variable | What it controls | Failure mode if wrong |
|---|---|---|
| Temperature | Adhesive melt completeness | Too low → weak adhesion. Too high → color darkening or burning. |
| Time | Color vibrancy and full melt | Too short → reduced vibrancy and partial cure. Too long → material damage. |
| Pressure | Powder-to-fabric contact | Too low → patchy adhesion. Too high → fabric scorch / mark. |
Pressure is especially critical for coarser grades - larger particles need positive pressure to fully embed into the fabric weave.
The 3×3 grid optimization method
A fast way to dial in powder + press for a new fabric, done in about one hour:
- Print nine identical test transfers
- Apply powder at three dosage levels (e.g. 2.5g, 3.5g, 4.5g per transfer)
- Press each at three temperature/time combinations (e.g. 150 °C × 15s, 160 °C × 12s, 165 °C × 10s)
- Wash-test all nine through a standard cycle
- The combination with best adhesion + softest hand + cleanest edges wins
This becomes your starting SOP for that fabric - refine from there.
Common DTF print issues and their powder/cure solutions
| Issue | Solution |
|---|---|
| Cracking after wash | Increase temperature 5 °C, or extend time 2 s |
| White edges visible around print | Enable Choke in RIP software (−1 to −2 px) |
| Stiff feel | Reduce white-ink coverage, reduce powder dosage, or do a secondary press with protective paper |
| Edges peel after 1–2 washes | Increase pressure; verify even powder coverage |
| Patchy adhesion | Inspect powder shaker for uneven distribution; verify fabric is flat under press |
Choke and the white-edge problem
DTF prints place a white underbase under the color layer. If powder sticks to the underbase edges, those edges show as visible white halo around the print after press. Choke in RIP software shrinks the white underbase by 1–2 pixels so color overshoots the white slightly, hiding any powder-edge artifact.
This is a software fix - no powder-process change needed.
Equipment considerations
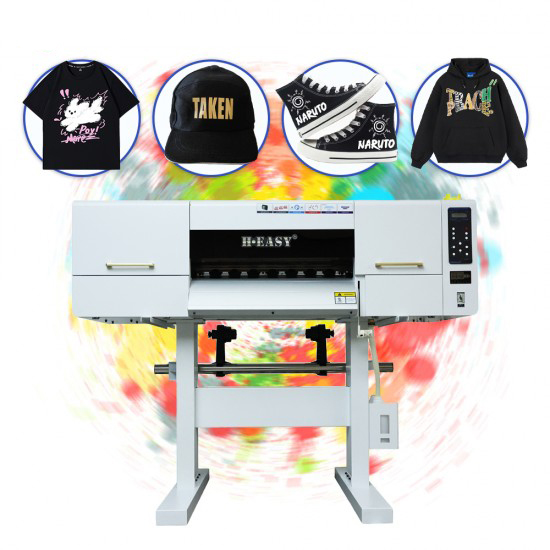
Inline integrated powder shakers (like the one in the HY-702 60cm DTF printer) keep powder application consistent batch-to-batch. Standalone shakers require more manual calibration and are more variable.
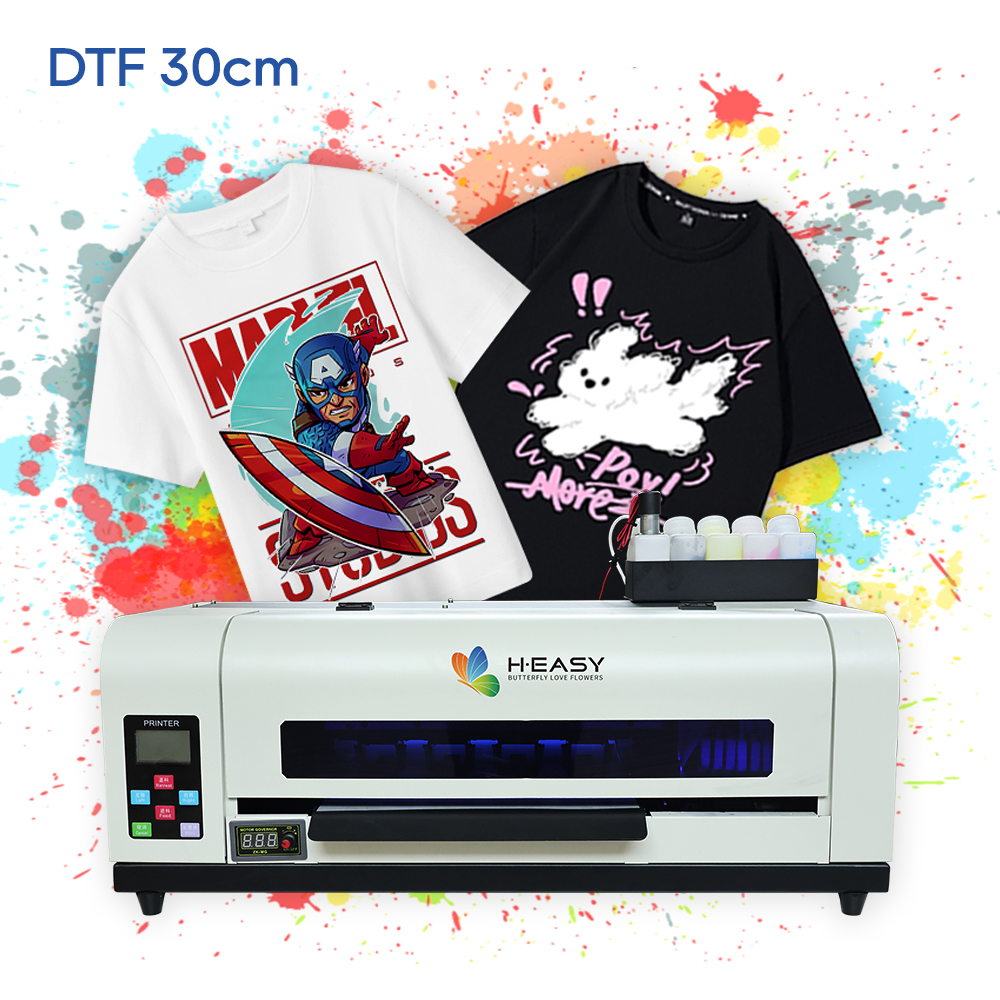
For desktop work, the HY-401 30cm DTF typically pairs with a smaller standalone shaker - fine for sample volumes, less suited to production where shaker bottlenecks matter.
See also
Printers matched to this guide